Before you start, please ensure that you have your email address, password and server details to hand.
This page illustrates the following scenarios;
1. Removing a previous Email, Calendar or Contacts setup
2. Setting up an Email Account
3. Setting up a Calendar Account
4. Setting up a Contacts Account
1 REMOVING PREVIOUS ACCOUNTS
If you are replacing a previous account setup make sure that you remove the account/s and restart your device to empty the cache. This is done as follows;
1.1 Go to Settings
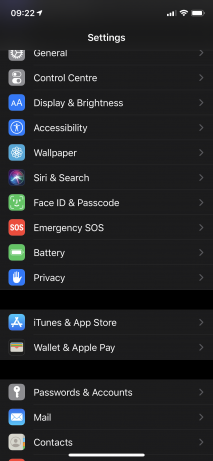
1.2. Select Passwords & Accounts
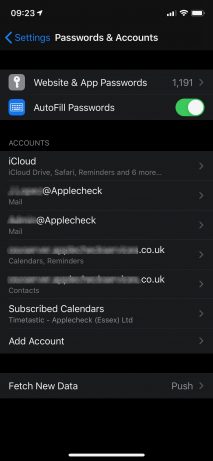
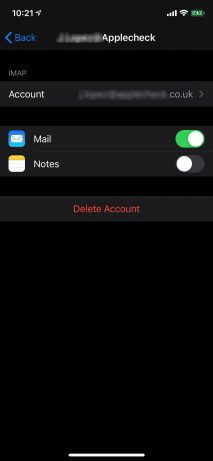
1.3. Select the relevant Mail, Calendar or Contacts account, then Delete Account
2 SETUP YOUR EMAIL ACCOUNT
2.1 Go to Settings
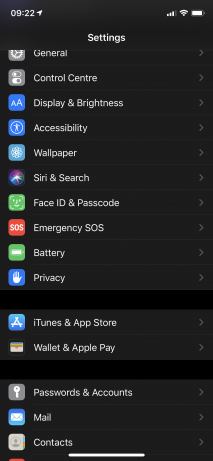
2.2. Select Passwords & Accounts
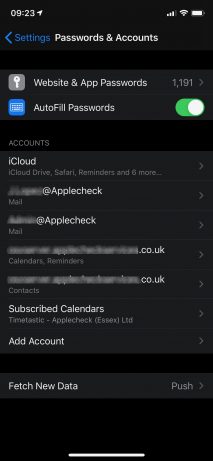
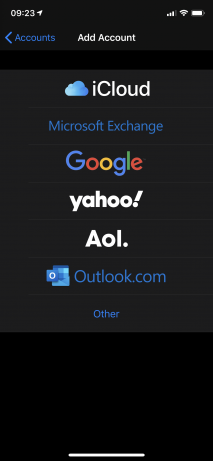
2.3. Select Add Account, select Other
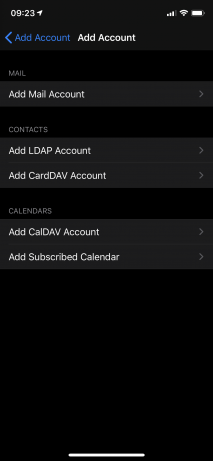
2.4. Add Mail Account
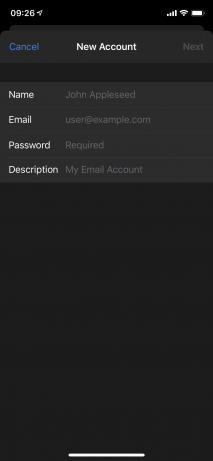
2.5. Enter You Name, Email, Password & Description, then click on Next
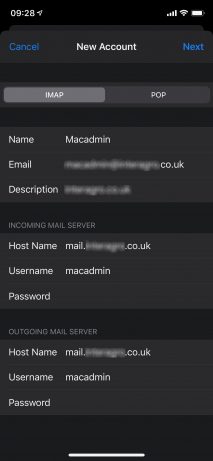
2.6. Complete the additional account details including the Incoming & Outgoing Mail Server. Your Username & Password will be the same for both. Click Next
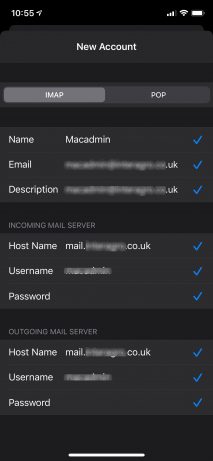
2.7. Each of entries will then by ticked if correct
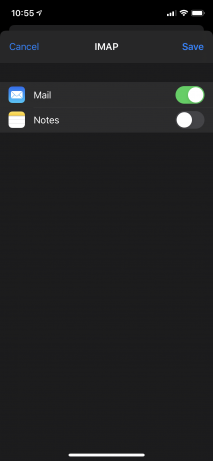
2.8. Choose the required services then Save
3 SETUP YOUR CALENDAR ACCOUNT
3.1 Go to settings
3.2. Select Passwords & Accounts
3.3. Select Add Account, select Other
3.4. Add CalDAV Account
3.5. Enter Server Name, Username (email address), Password & Description, then click on Next
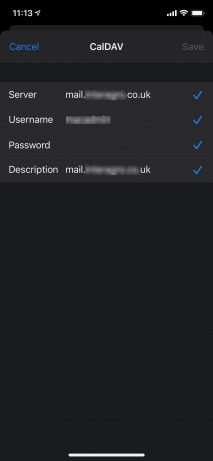
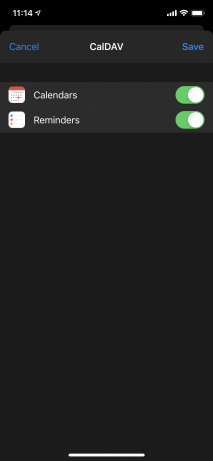
3.6 Switch n the relevant Services & Save
4 SETUP YOUR CONTACTS ACCOUNT
4.1 Go to settings
4.2. Select Passwords & Accounts
4.3. Select Add Account, select Other
4.4. Add CardDAV Account
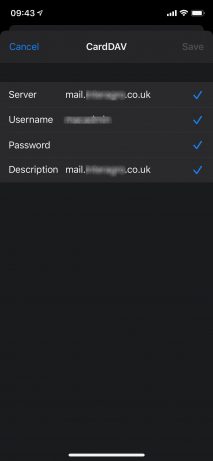
4.5 Enter The Server, Username, Password & Description. Once all of the field are ticked it’s complete